How to Send a Newsletter in Mailchimp
Once you have set up all the framework to collect subscriber emails and have them all saved in Mailchimp, your next step is to send an email to all your subscribers. Here is How to Send a Newsletter in Mailchimp:
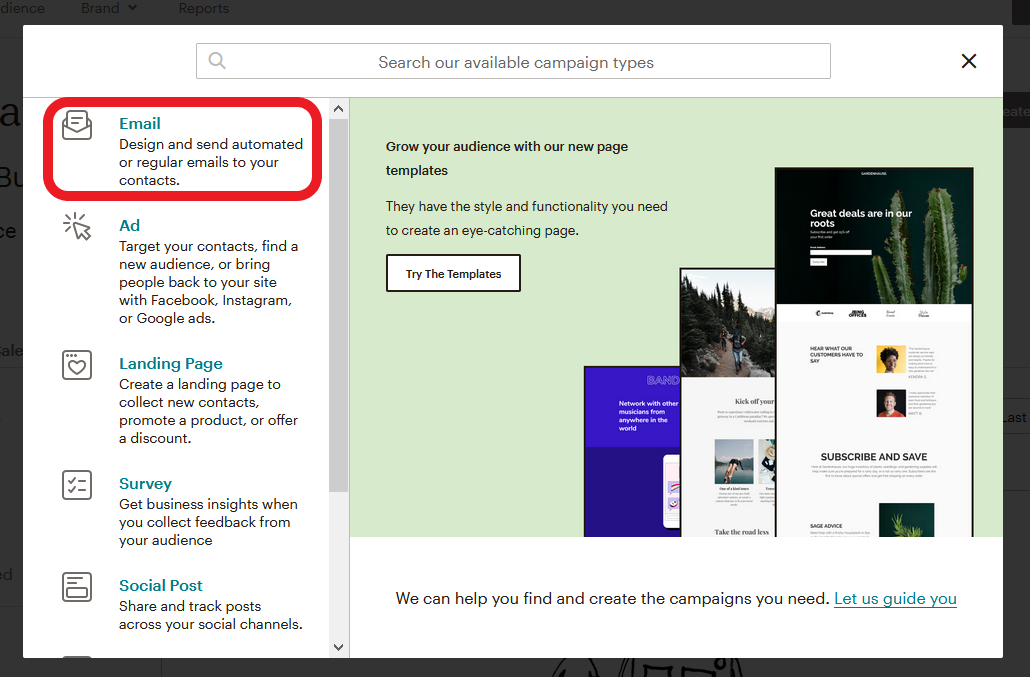
In the Campaigns menu, click on ‘Create Campaign’.

Select ‘Email’.
Name your campaign and click ‘Begin’.

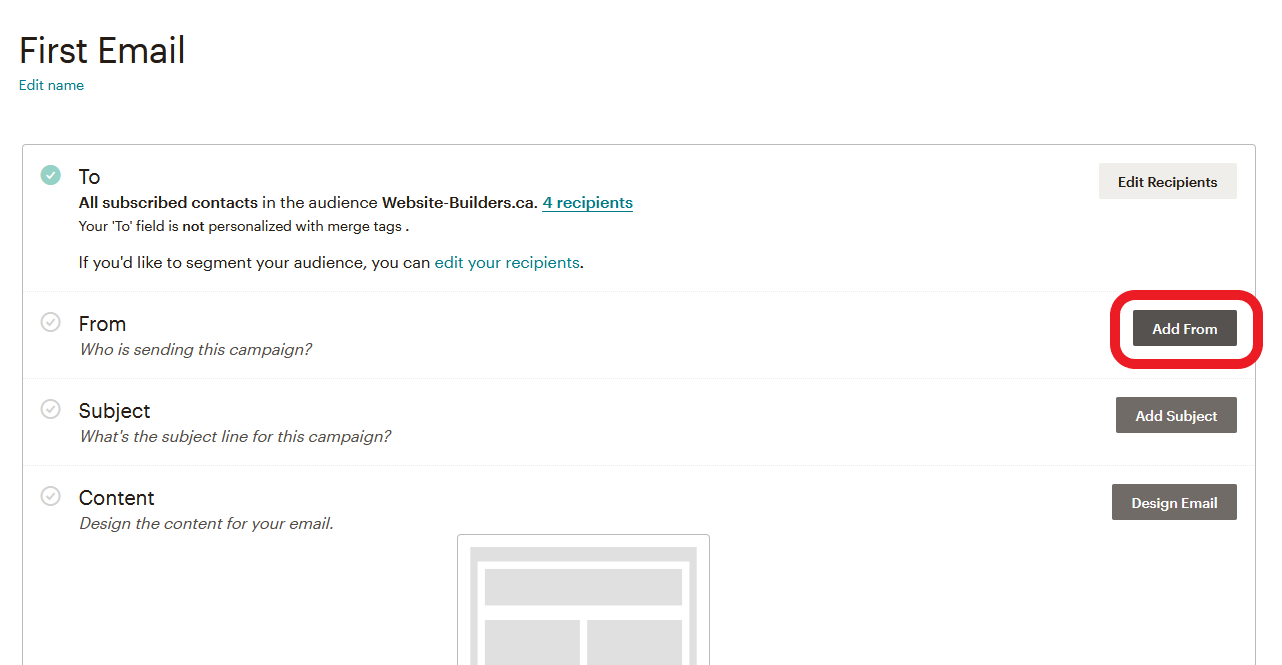
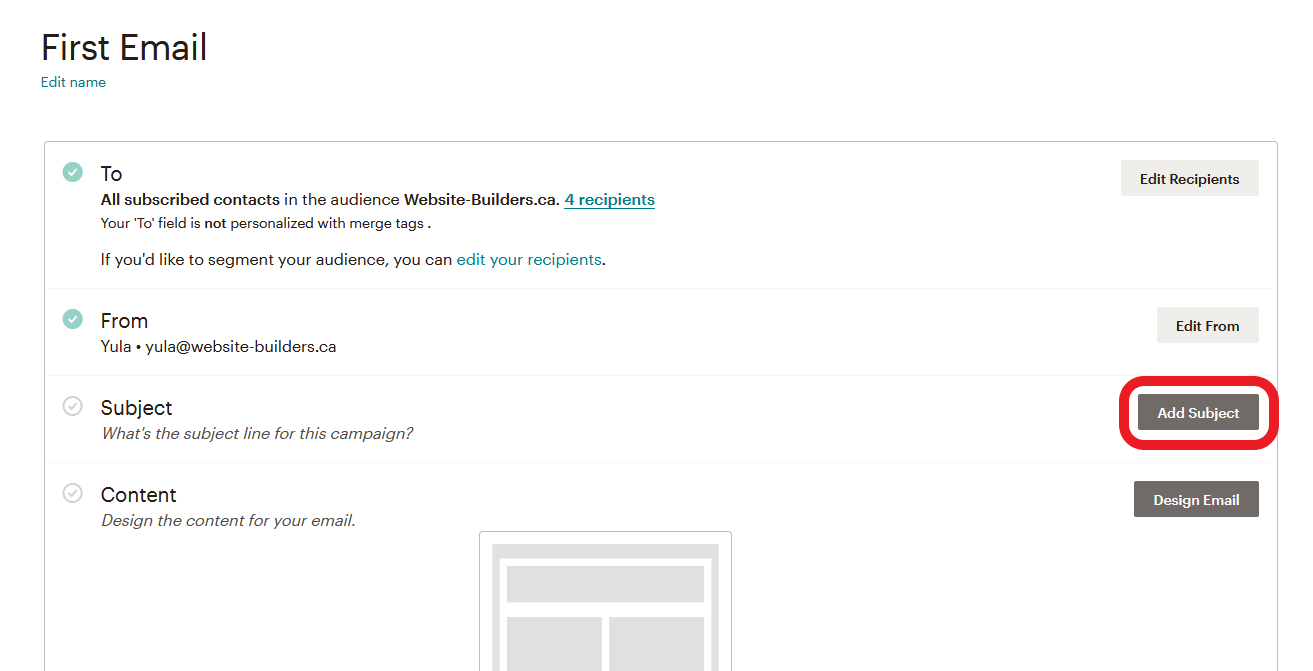
This next screen presented is an overview of the entire email that will be sent to your subscribers.
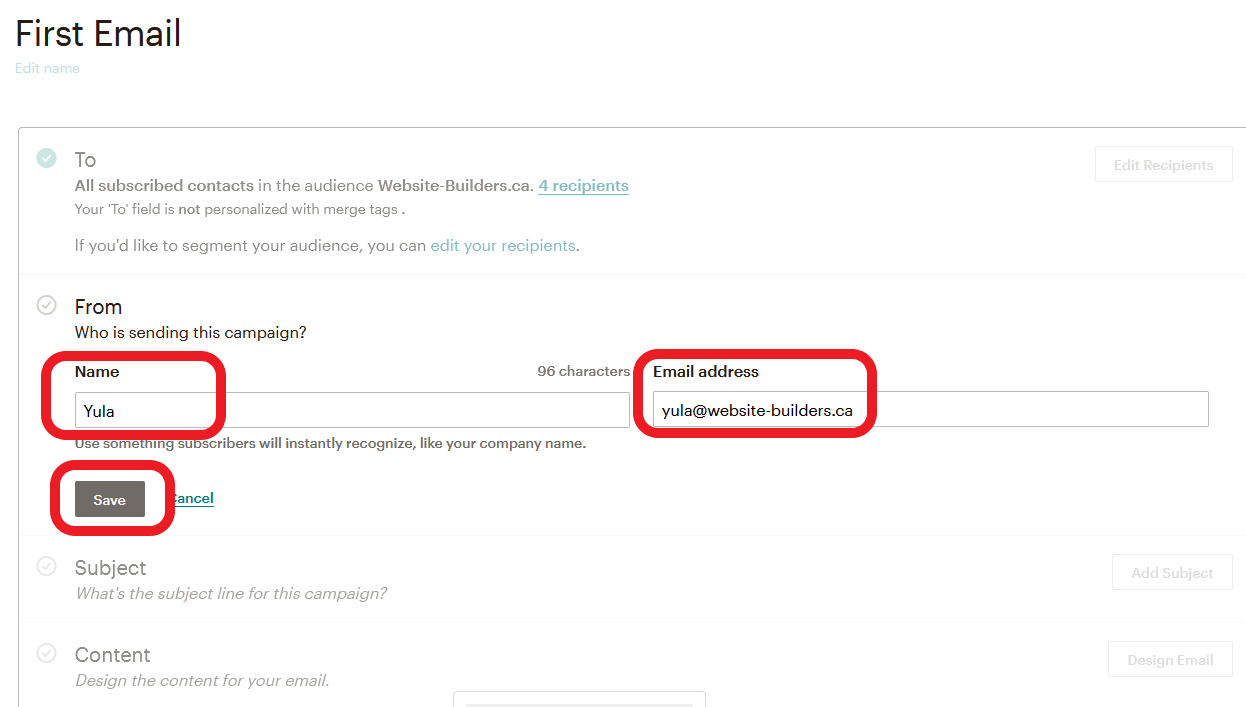
The first section is ‘From’. This is who your subscribers will see that the email is from. Click ‘Add From’.
Enter the Name you would like to appear. This could be your own name, your company’s name, etc.
Enter the email address you would like the email to be from.
Click ‘Save’.
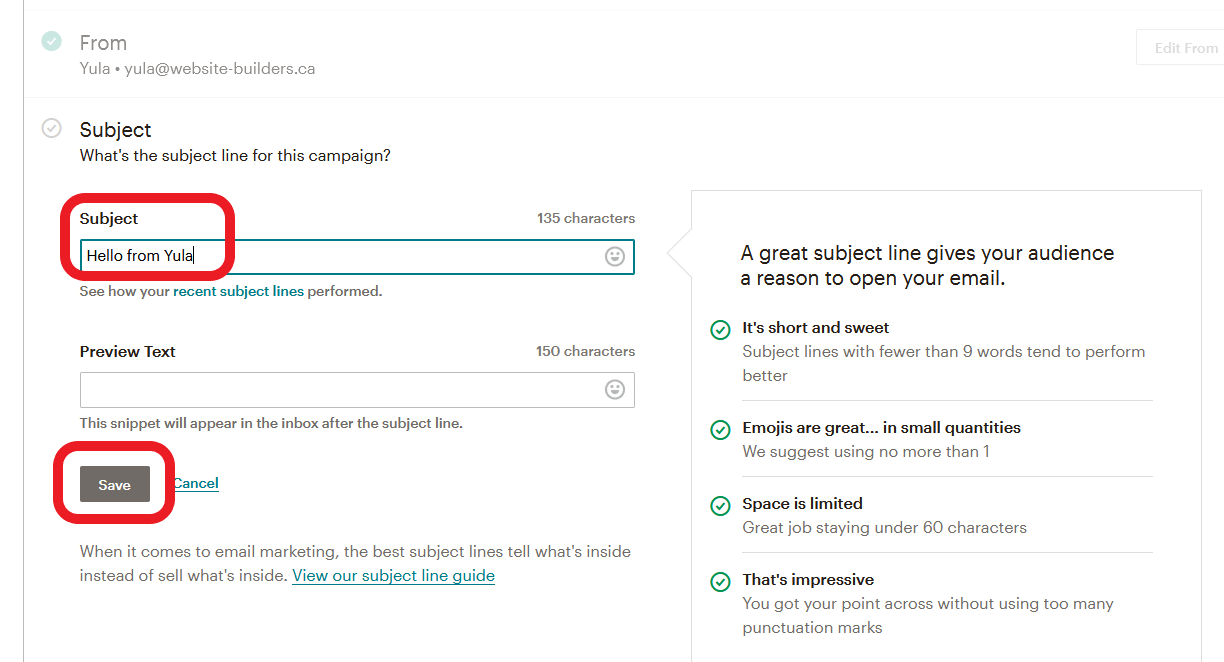
The next section is ‘Subject’. This is the subject line of the email that will be sent to your subscribers. Click ‘Add Subject’.
Enter the Subject line, then click ‘Save’.
The next section to complete is the content of the email. Click ‘Design Email’.

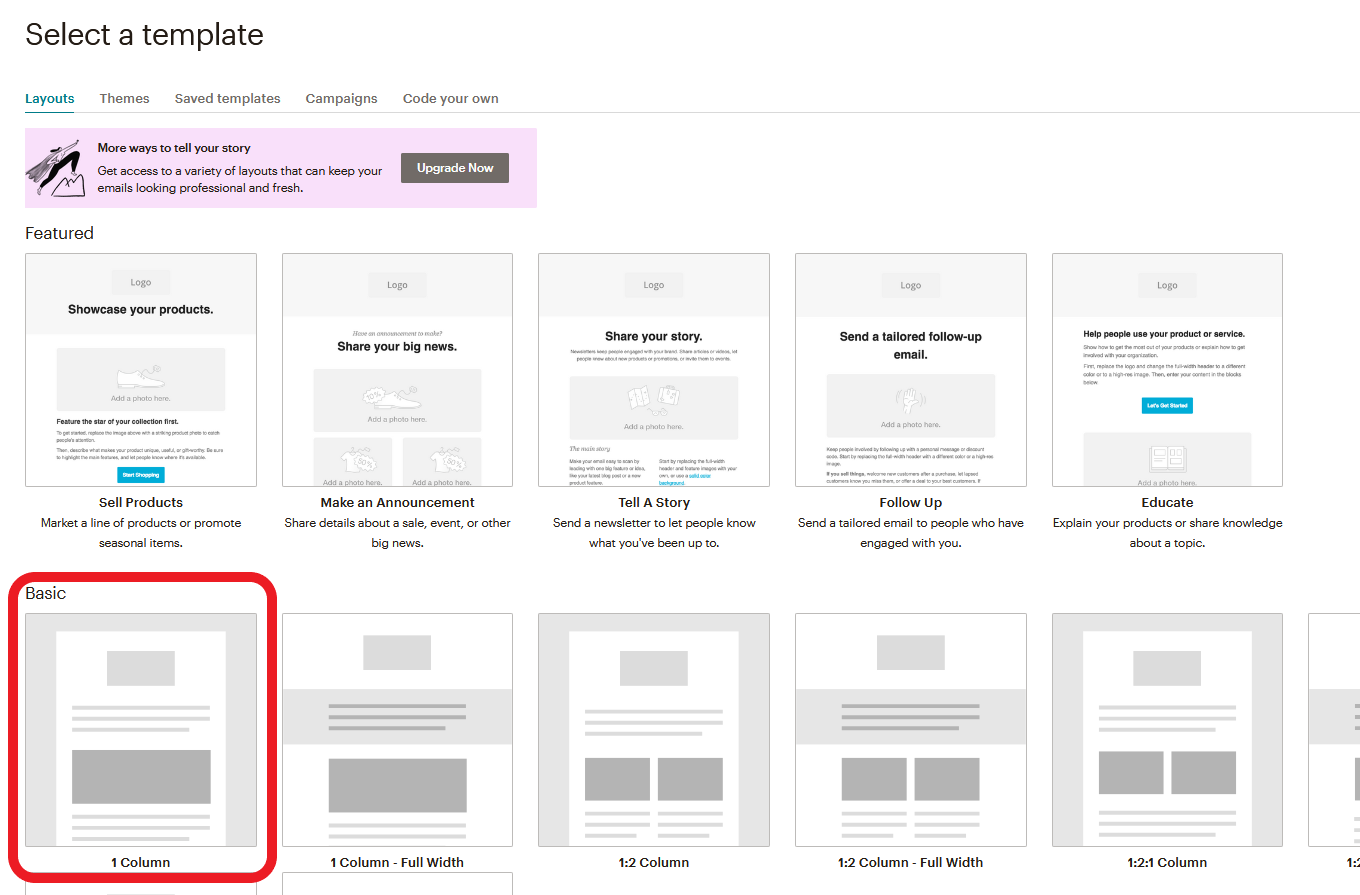
There are a number of different layouts that you can choose for your email. To keep this simple, we will select the Basic, 1 Column layout. Click this layout.
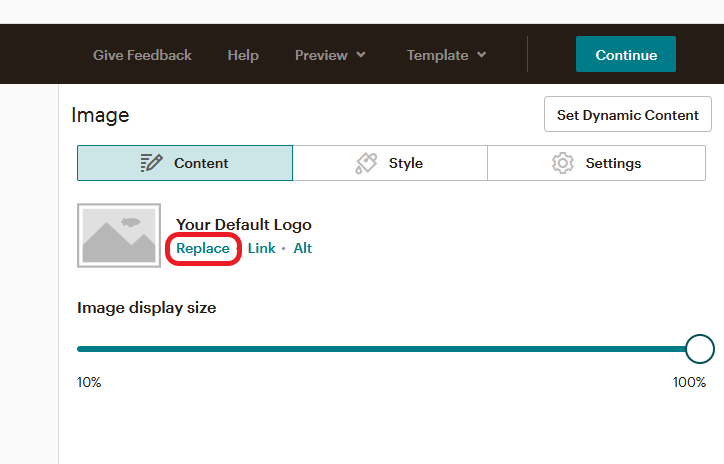
If you would like to add your logo to the top of your email, hover your mouse over the logo area, and click on the pencil icon.
If you don’t want a logo at the top of your email, click on the garbage can icon to remove it.
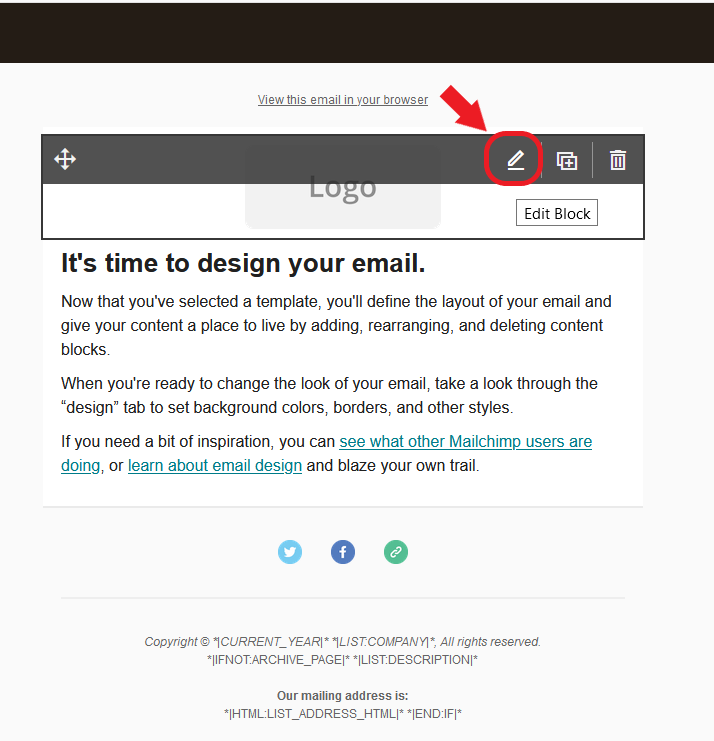
Click on ‘Replace’ to begin adding the logo.
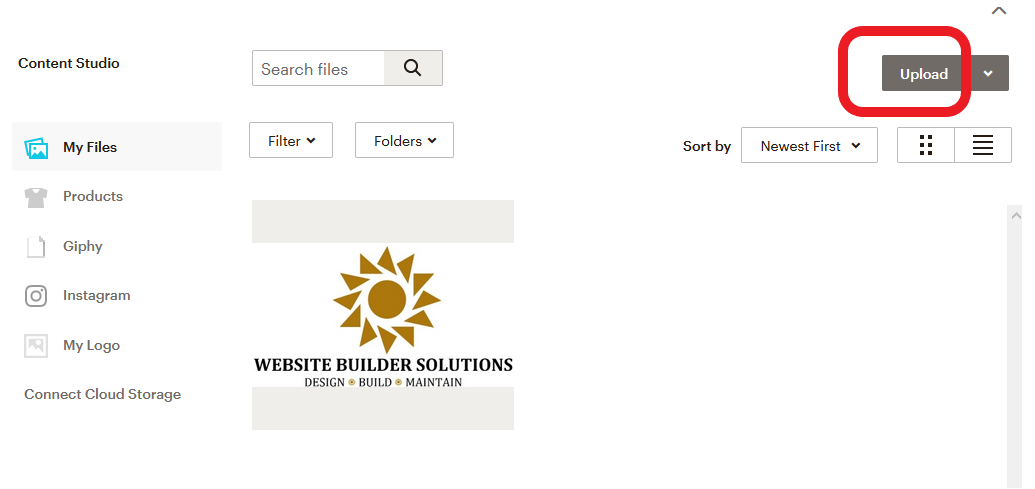
Click the ‘Upload’ button on the top right of the screen.
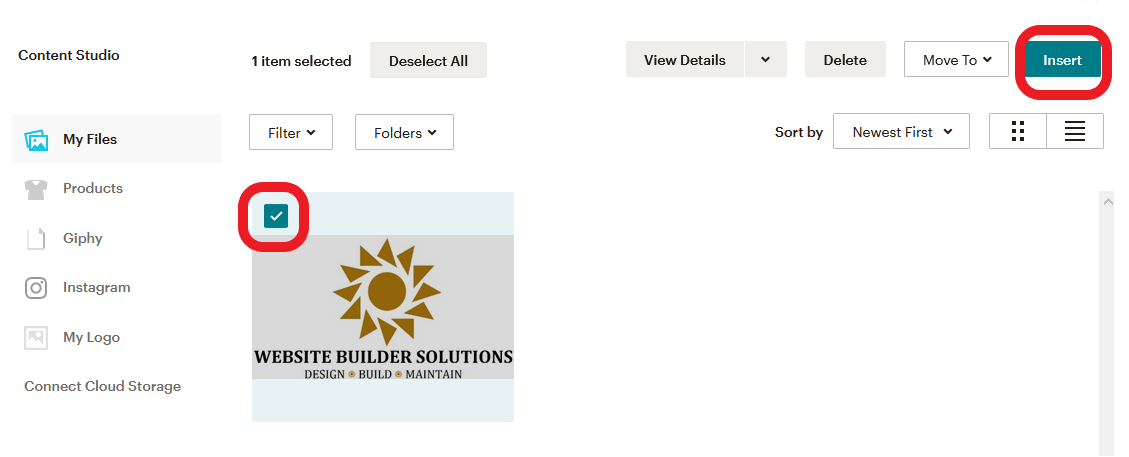
After selecting the logo from your computer, make sure the logo is checked, then click ‘Insert’ on the top right of the screen.
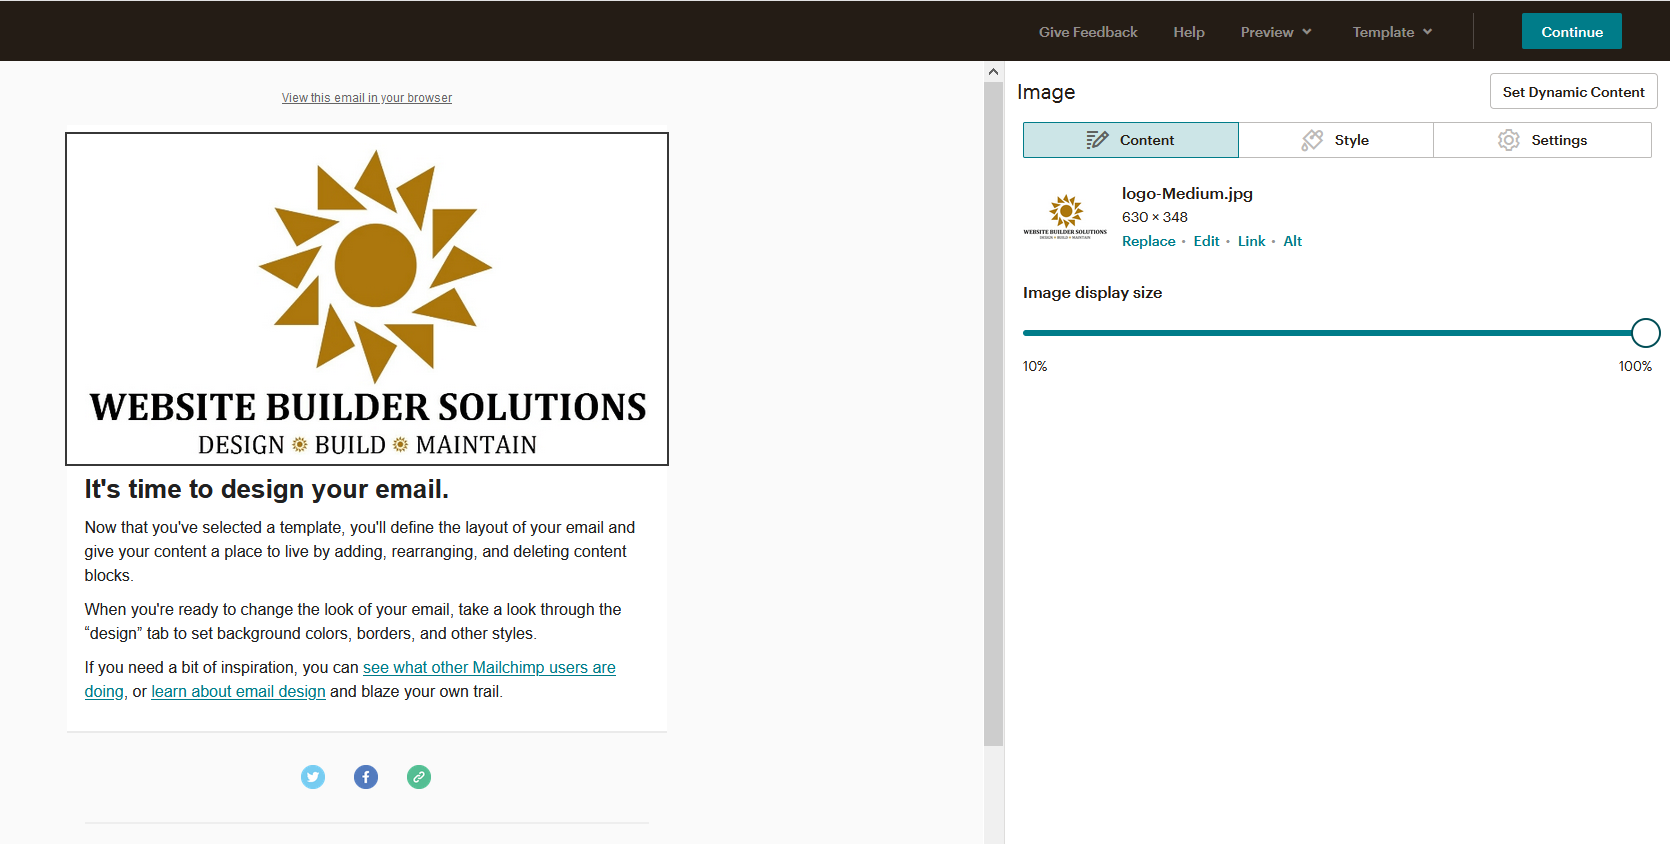
You will now see your logo in the left pane, at the top of your email.
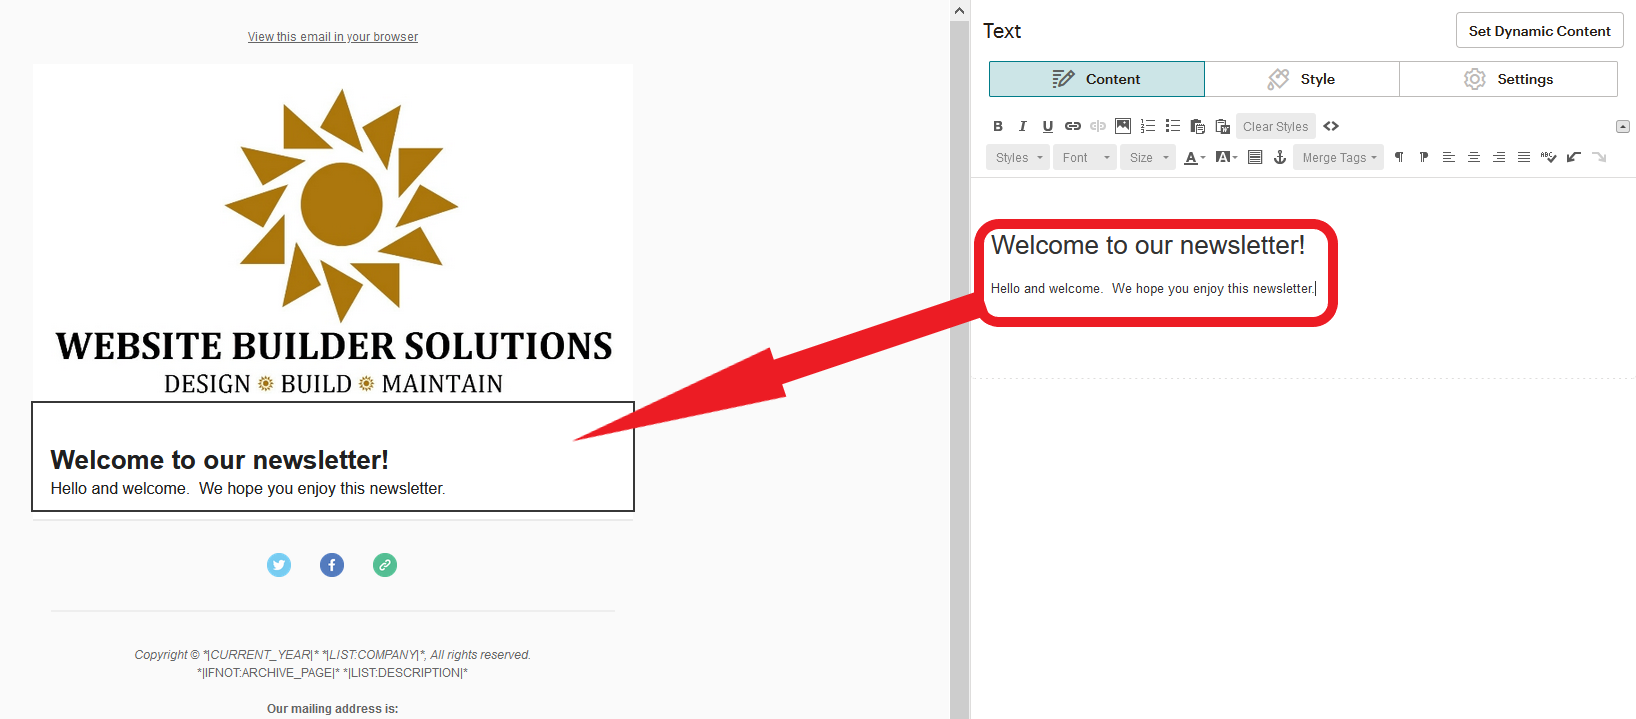
The next step is to personalize the body of the email. Hover your mouse over the body and click on the pencil icon that appears.

The default content will appear on the right pane. This is where you will personalize it.
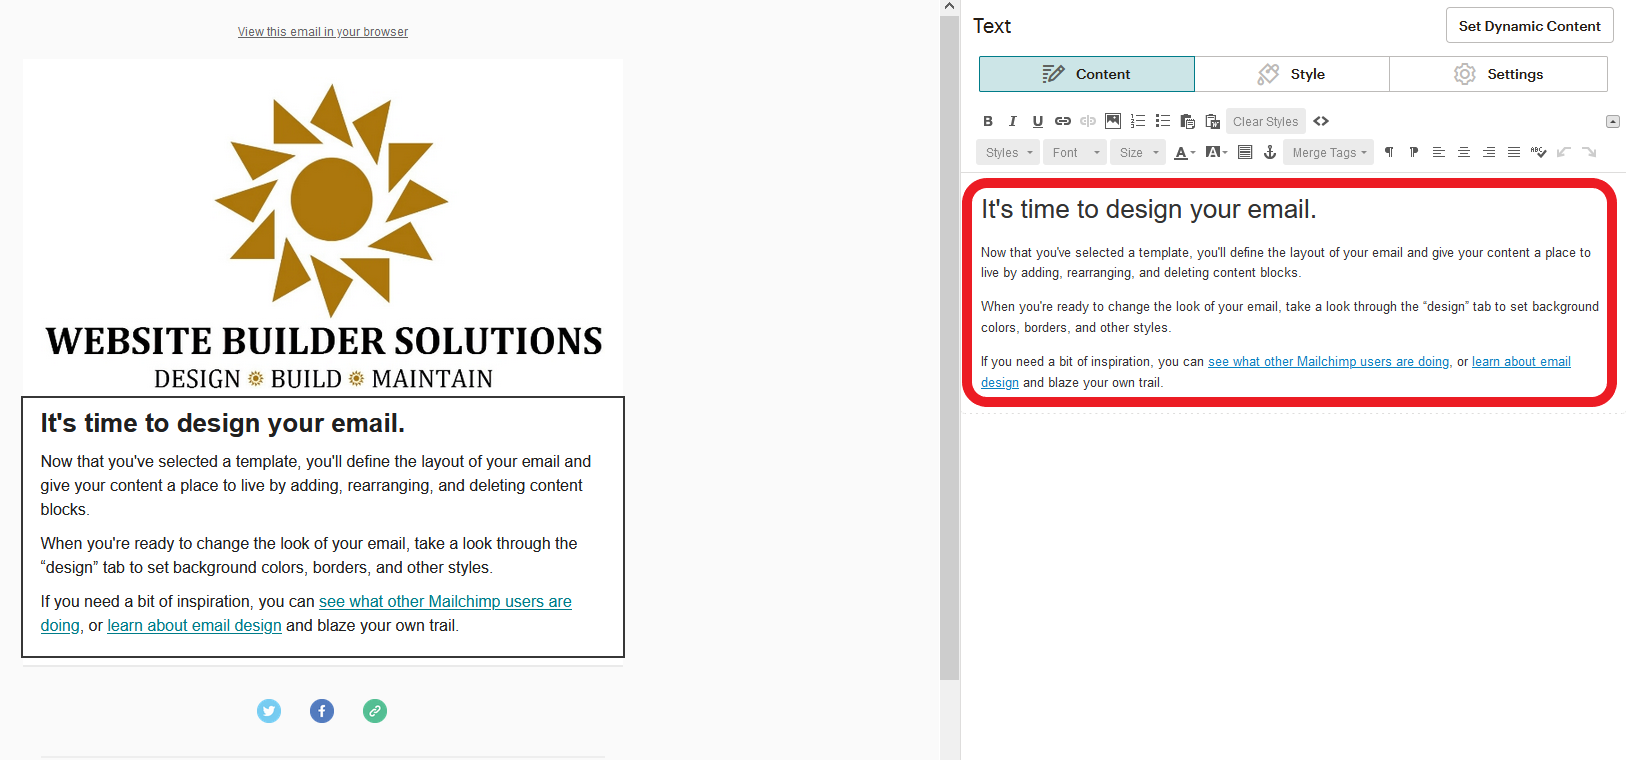
As you change the text in the right pane, you will see it changing in the left pane as well.
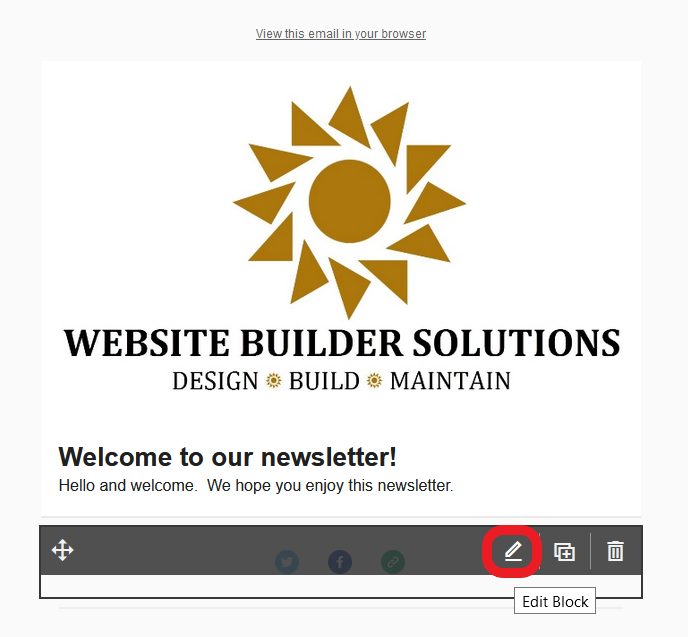
If you would like to personalize the social media icons underneath the body, hover over the the icons, and click on the pencil that appears.
If you don’t want the social icons to appear in your email, click the garbage can icon to remove them.
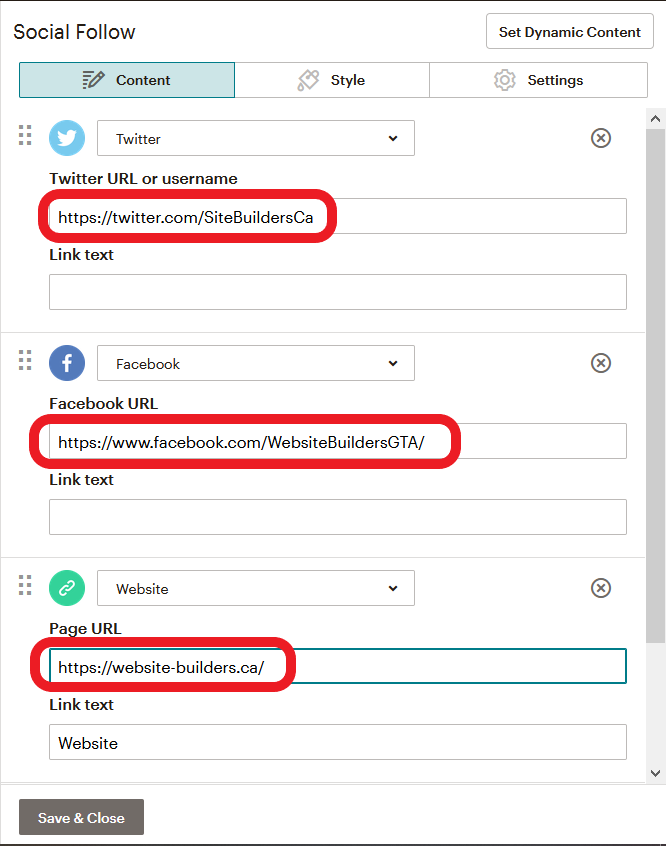
Add your own links to the Twitter, Facebook and your website. You can remove any one by clicking on the X beside the social icon. You could also add more.
Click ‘Save & Close’ when you’re done.
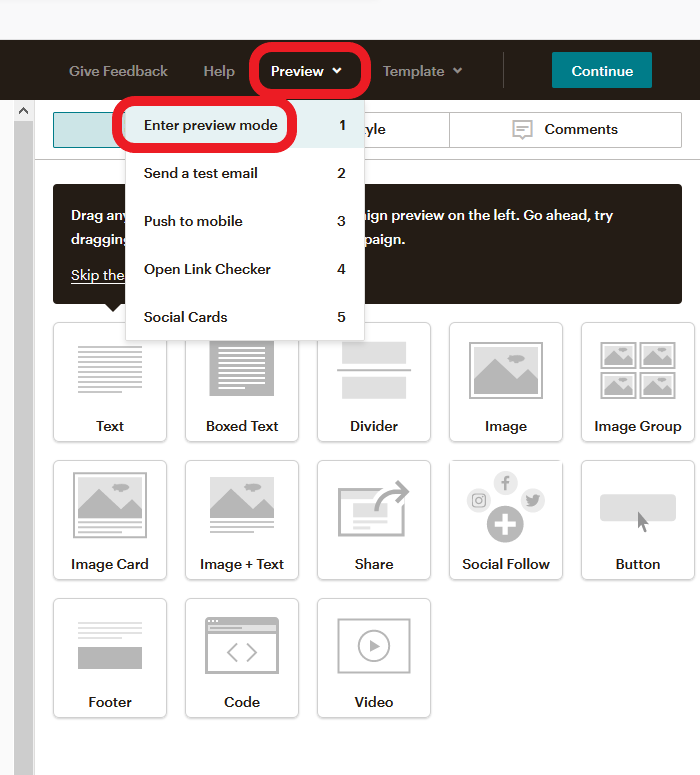
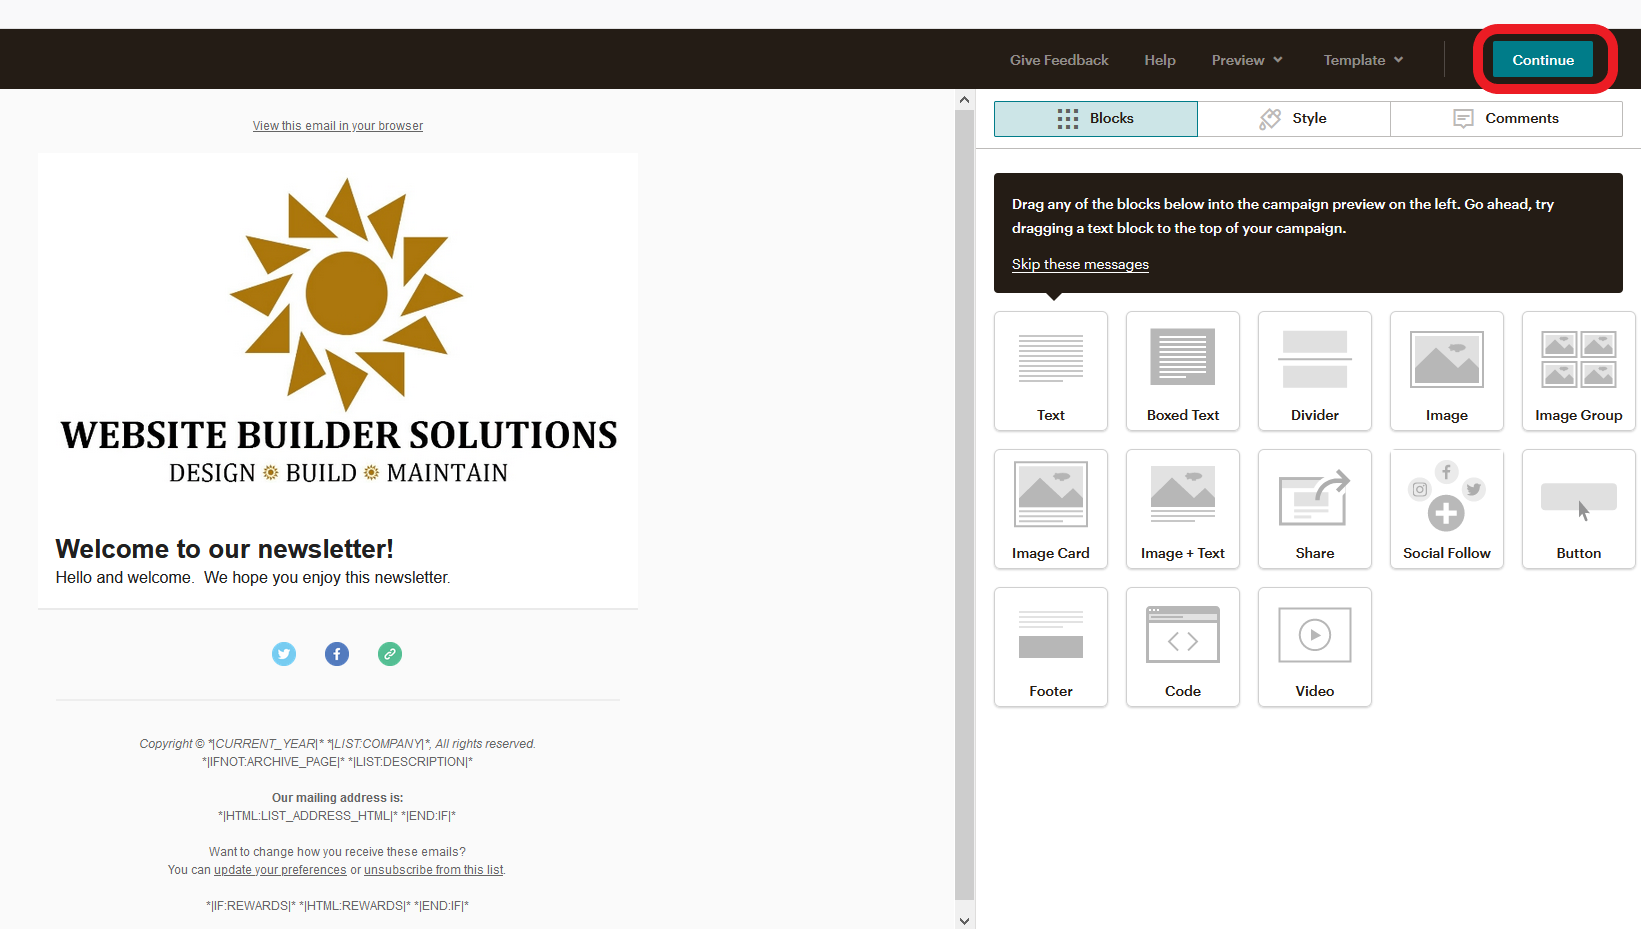
Your email has now been designed. You can preview it by clicking ‘Preview’, then ‘Enter preview mode’.
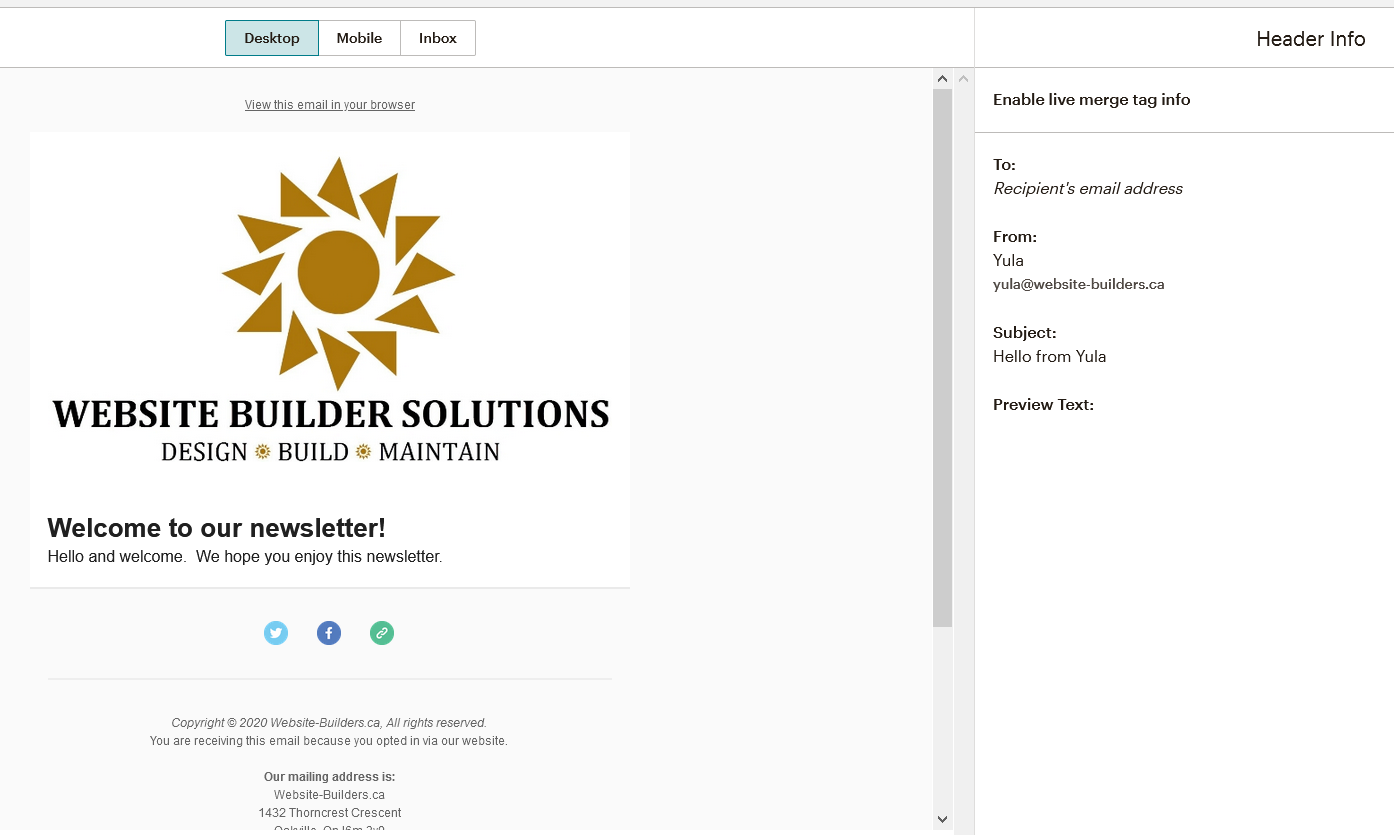
The screen will show you all the details of your email. You can go back and made adjustments.
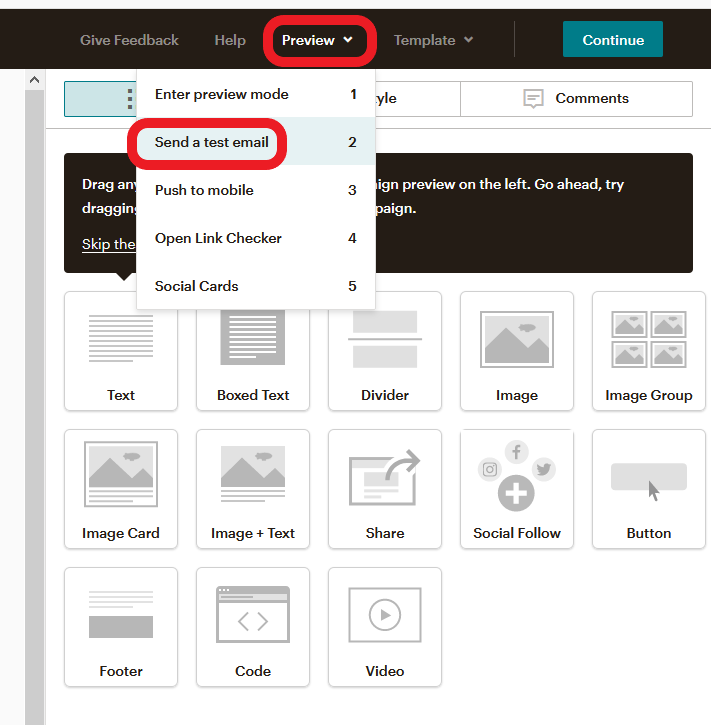
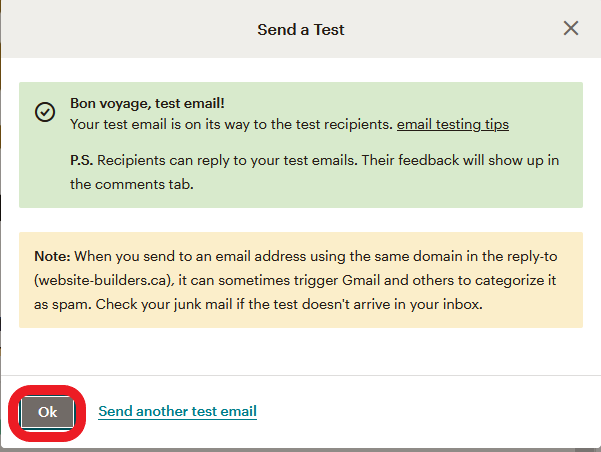
You could also send a test email to yourself before you send to all your subscribers, to have a more realistic view of what it would look like. Click ‘Preview’, then ‘Send a test email’.
Enter the email address you want the test to go to. Then click ‘Send Test’.
Click ‘Ok’.
Once you’re happy with the email you have designed, click ‘Continue’.
Click ‘Send’ to send to all your subscribers.
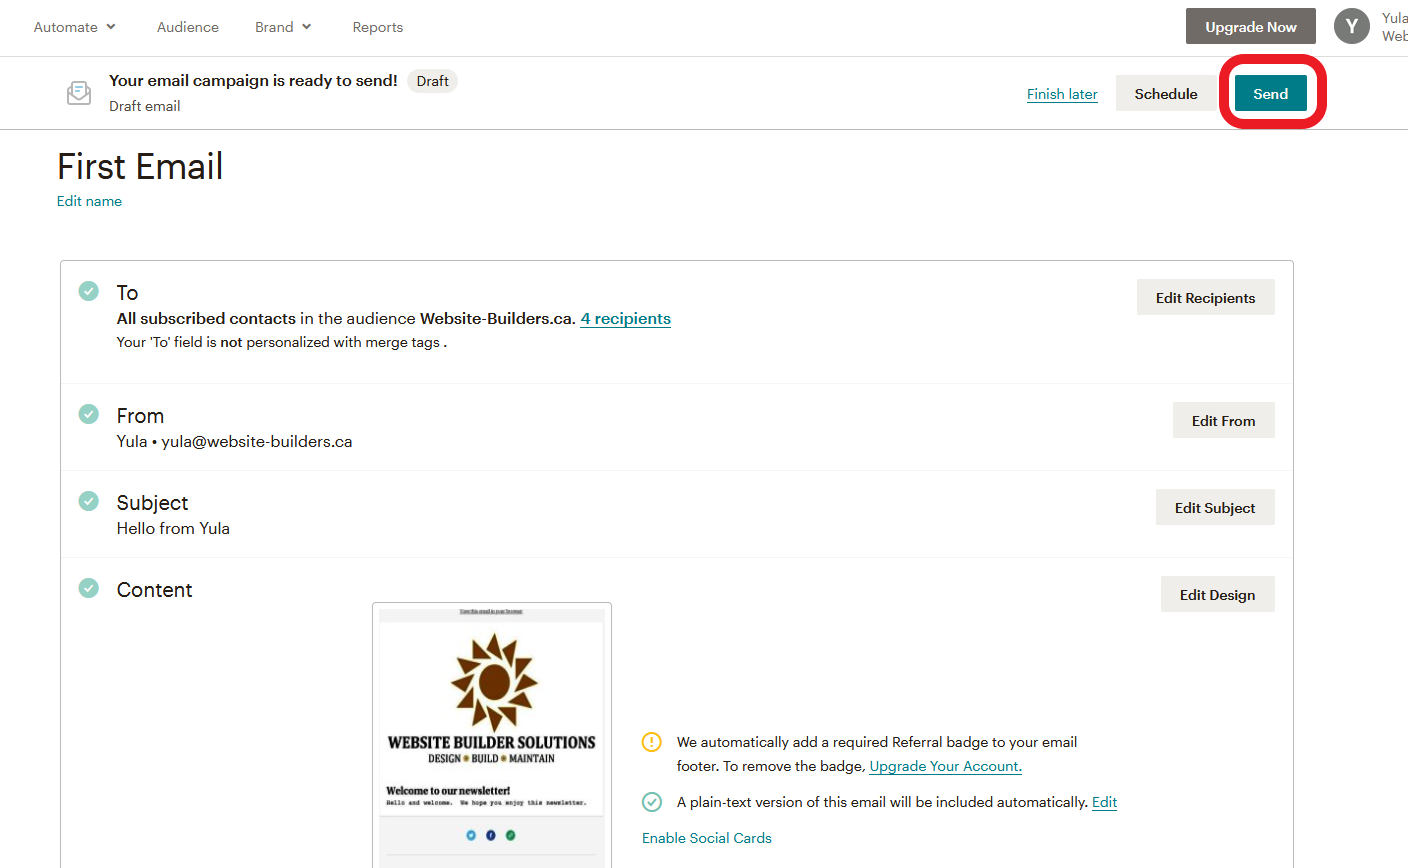
Confirm. Click ‘Send Now’.

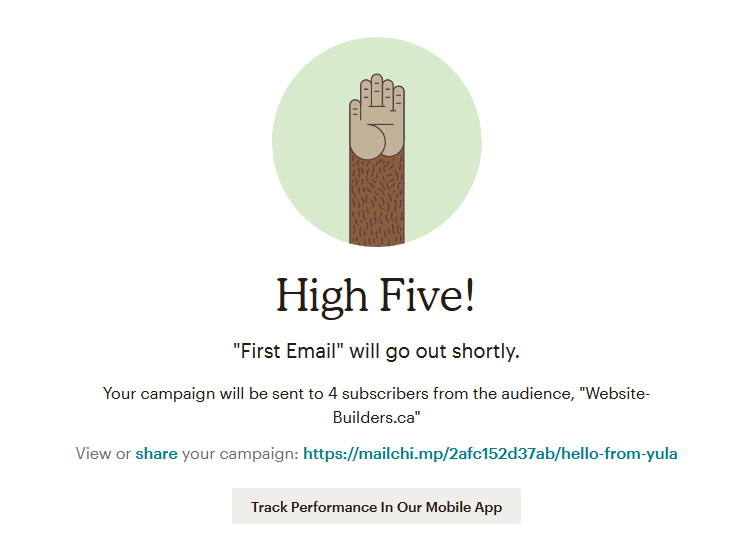
In a few minutes, the email will reach all your subscribers!