How to Create an Automated Welcome Email
When someone clicks on the ‘subscribe’ button on your website, you can set it up so that Mailchimp automatically sends out a welcome email to your subscriber. Here’s how to do it:
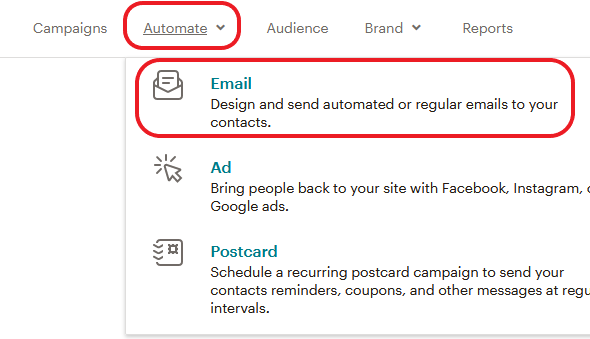
From the ‘Automate’ drop down list, select ‘Email’.
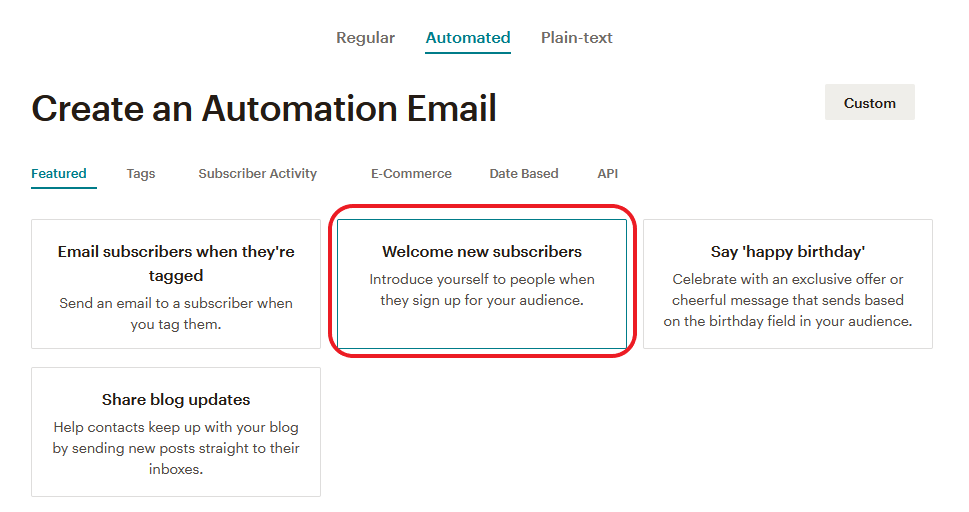
A number of different email options are presented. Select ‘Welcome new subscribers’.
Click on ‘Begin’.
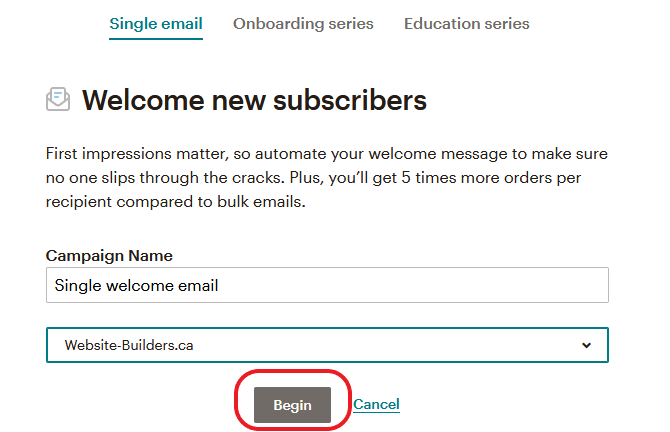
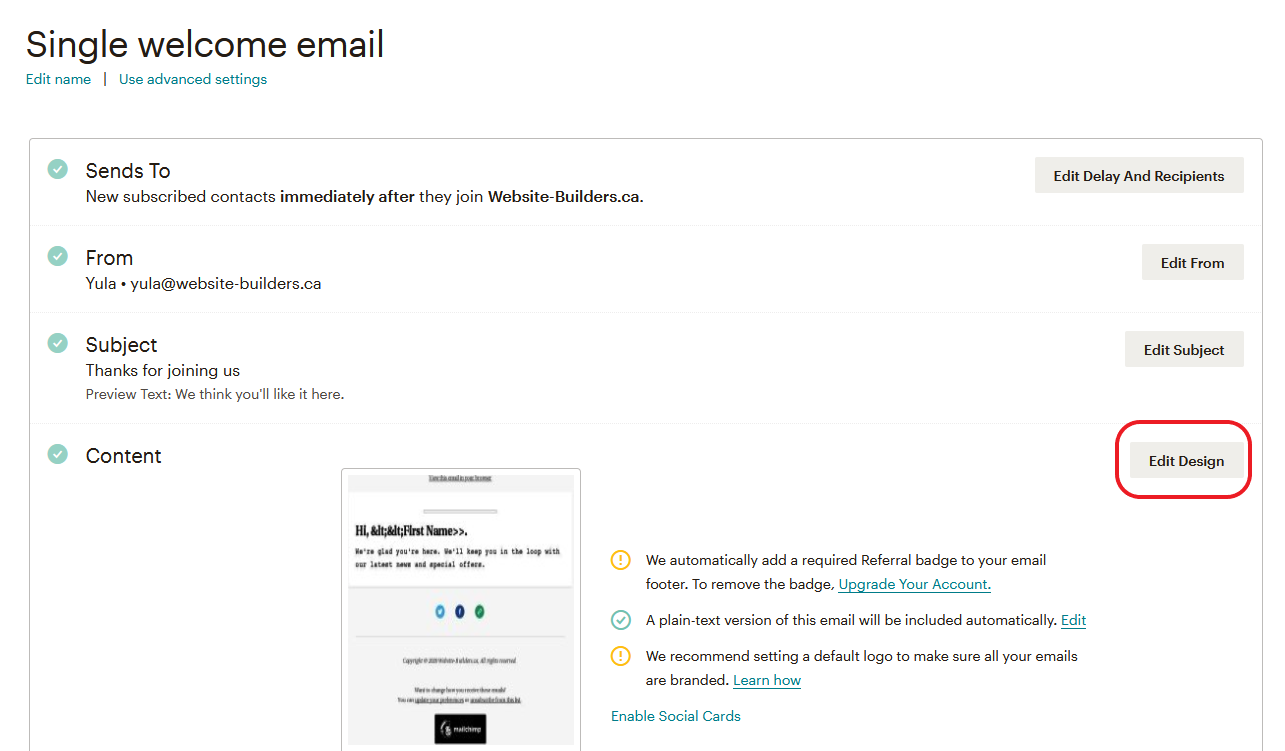
Review the default settings for ‘Sends To’, ‘From’ and ‘Subject’. Edit them if you would like them a little bit different.
Click on ‘Edit Design’ to begin creating the content of the email.
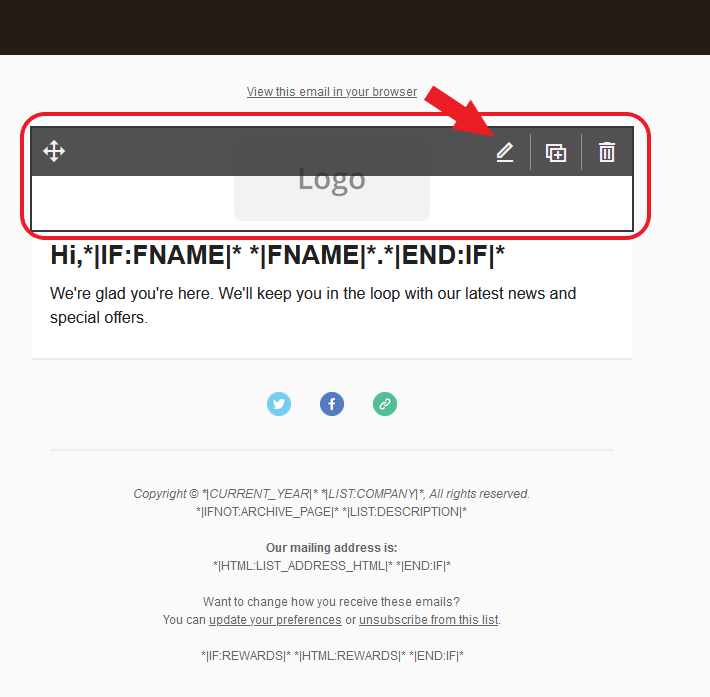
First we will add your logo to the top of your email. To edit this, click on the pencil icon. If you don’t want a logo, simply click on the garbage can icon to remove the logo box completely.
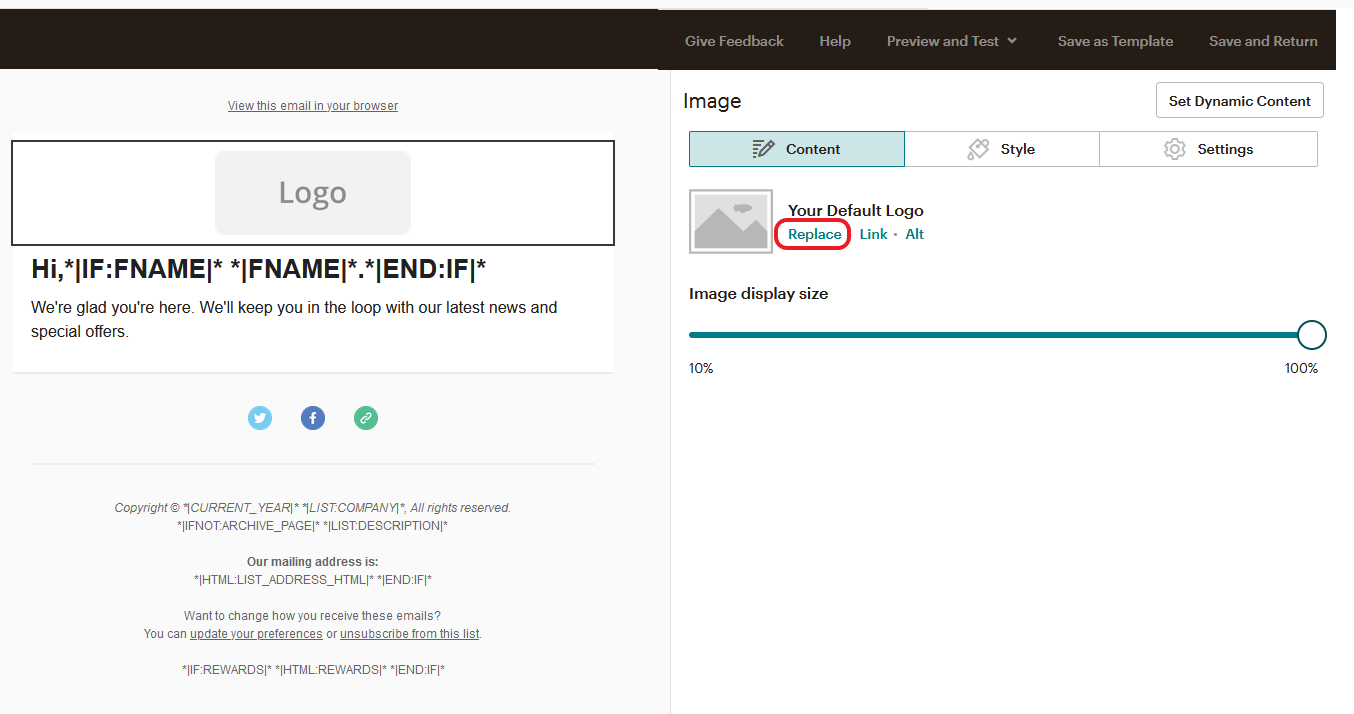
An editing pane will be visible on the right panel. Click on ‘Replace’ to add the logo image.
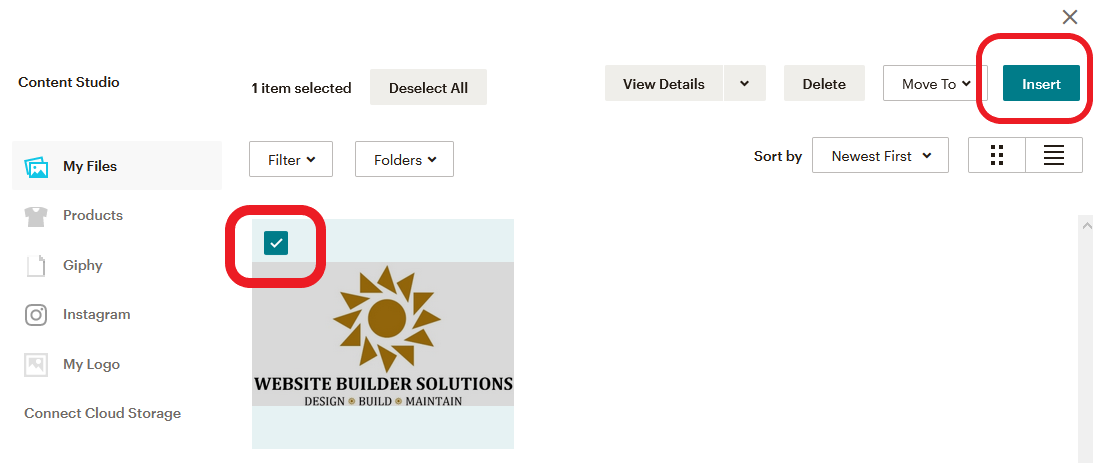
Click on ‘Upload’ to begin uploading the image.
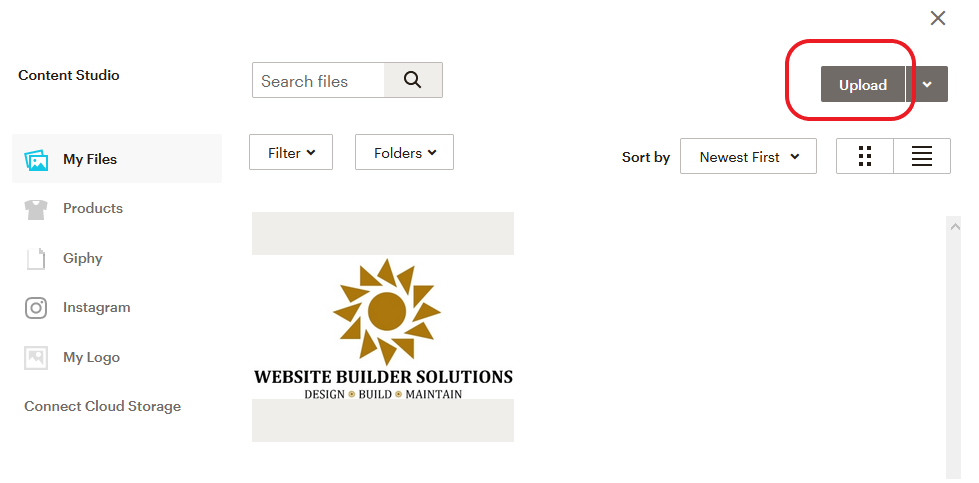
After you have located the image on your computer and you see it as an option, select the image, then click on ‘Insert’.
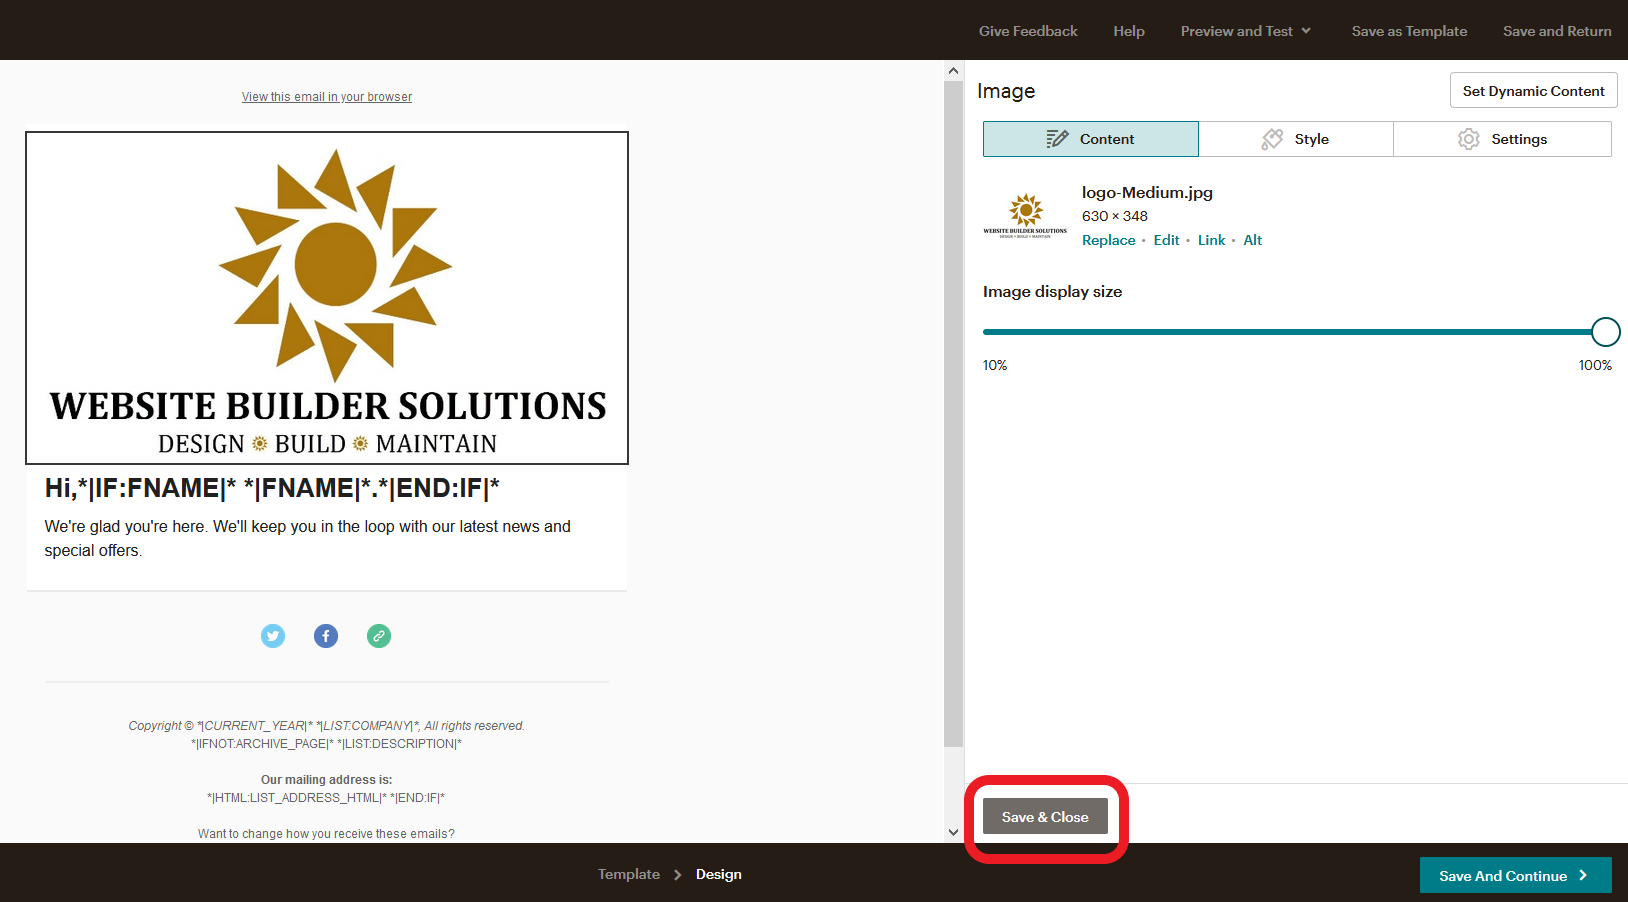
You will now see your logo on the left pane. You can adjust the size of it on the right.
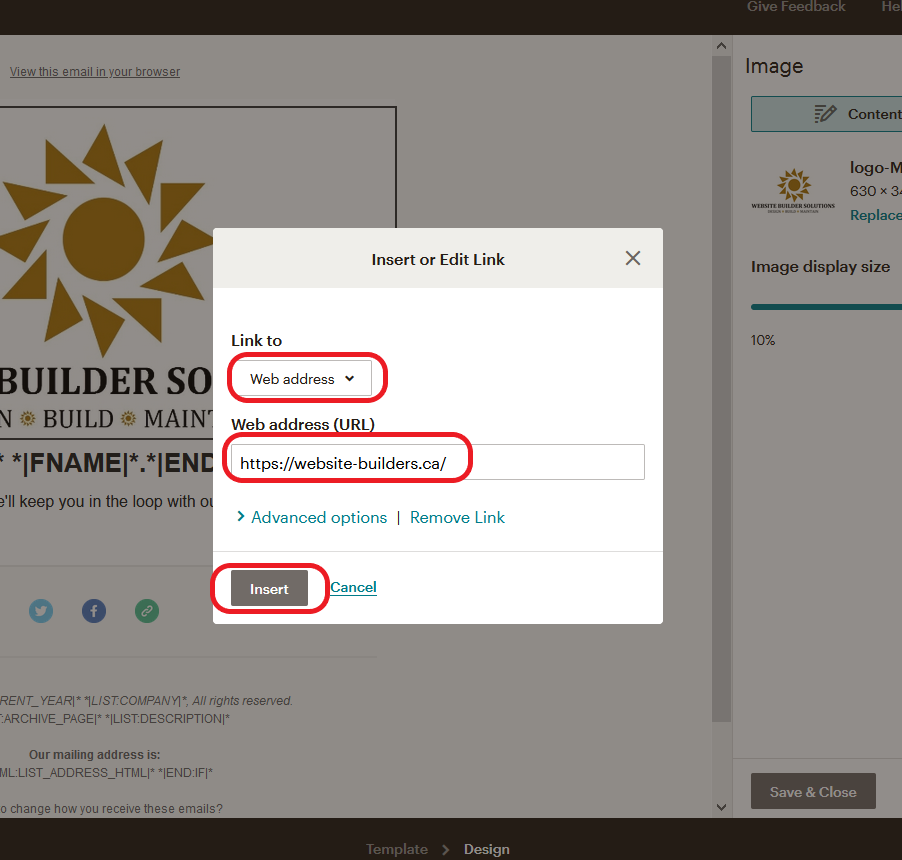
You can also add an image link, by clicking on ‘Link’ on the right panel.

Enter your website URL and then click ‘Insert’.
Click ‘Save & Close’ to save your work.
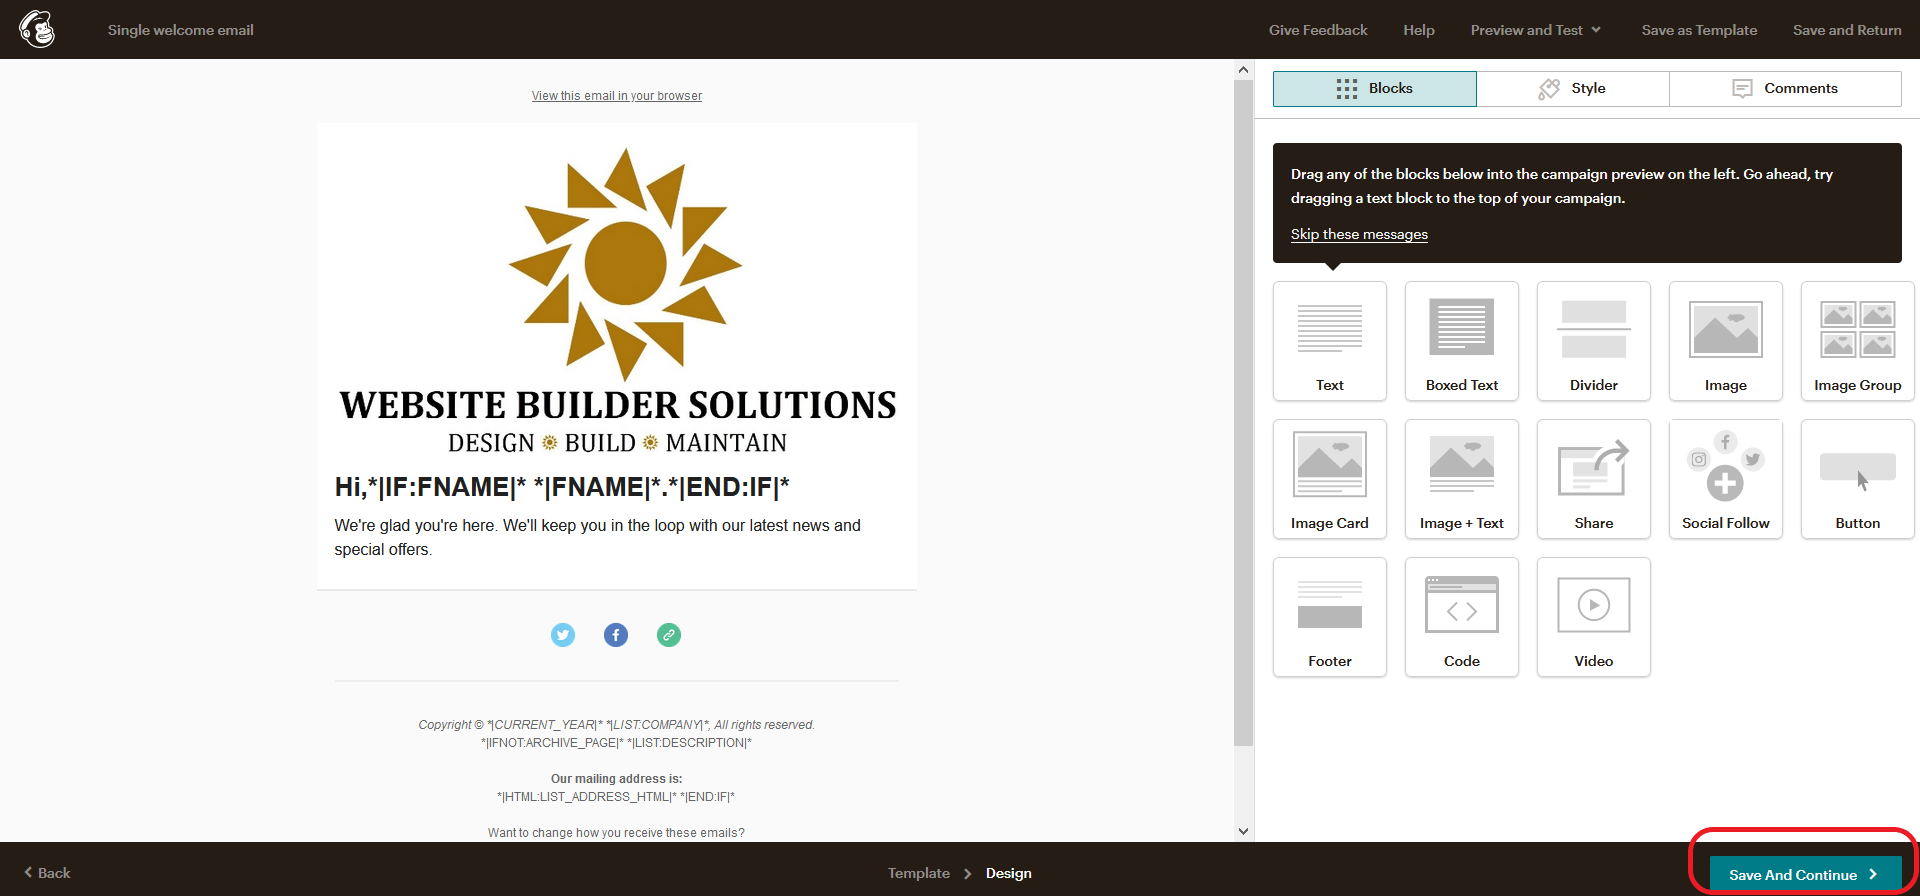
Now we will edit the content of the email. Click on the pencil icon to begin editing.

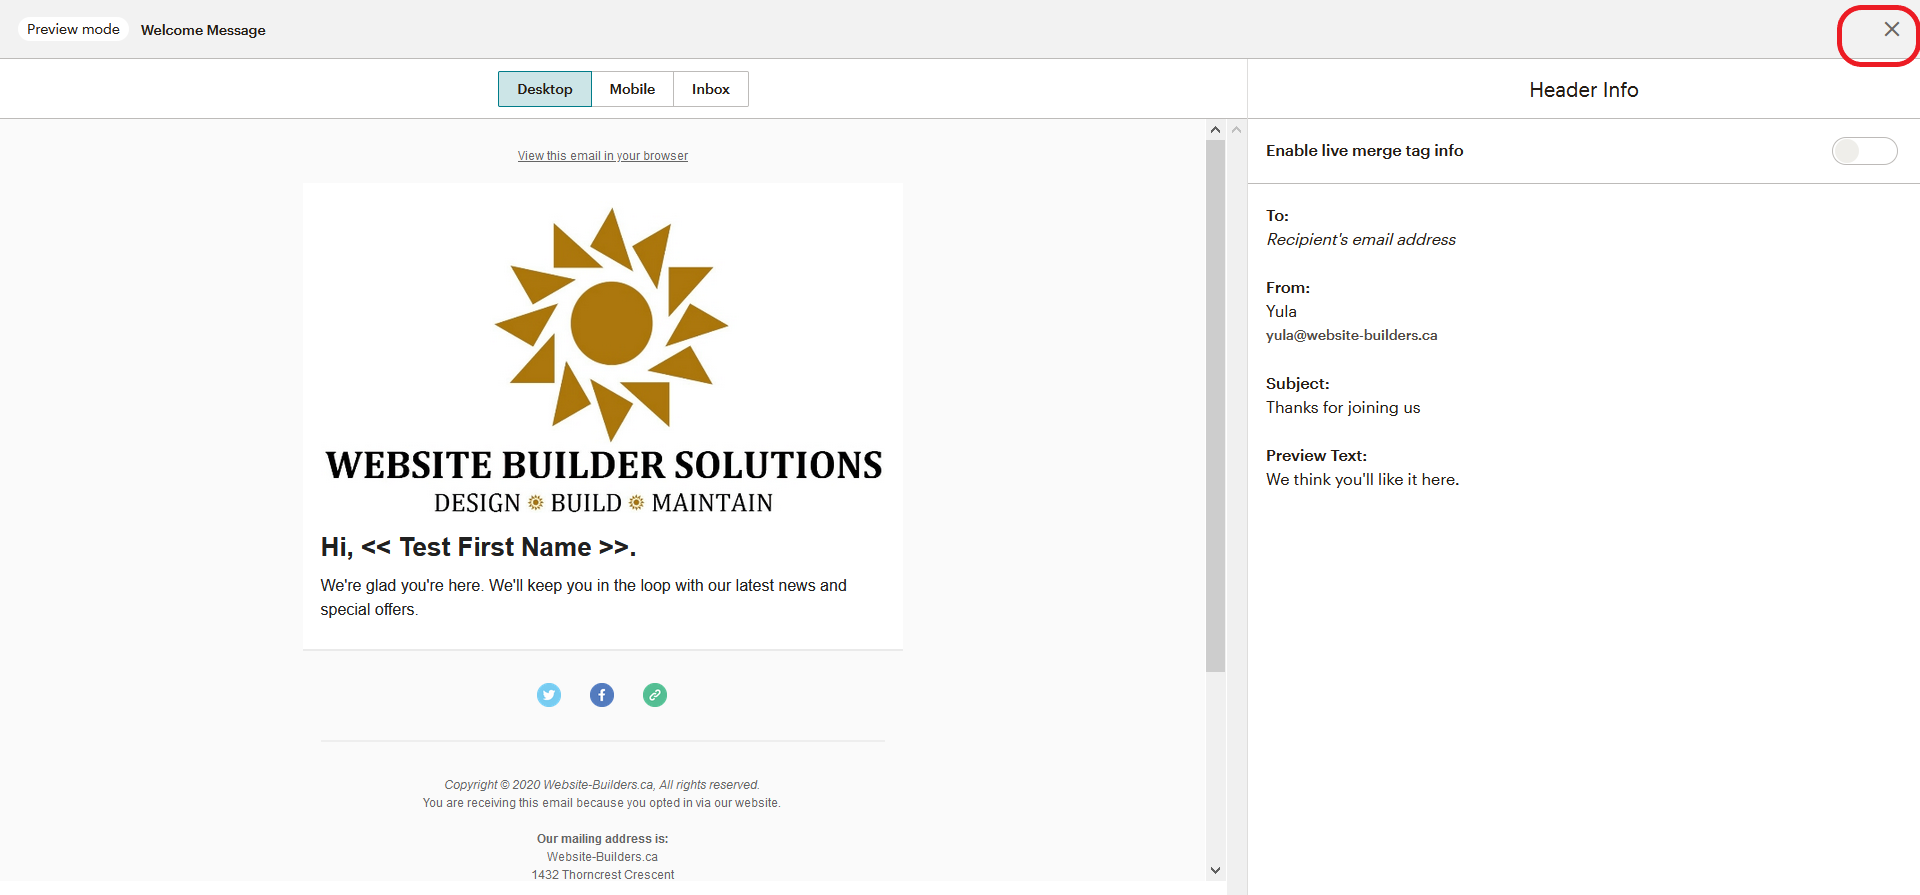
After you have changed to the desired content, you can preview the email. From the ‘Preview and test’ dropdown, select ‘Enter preview mode’.
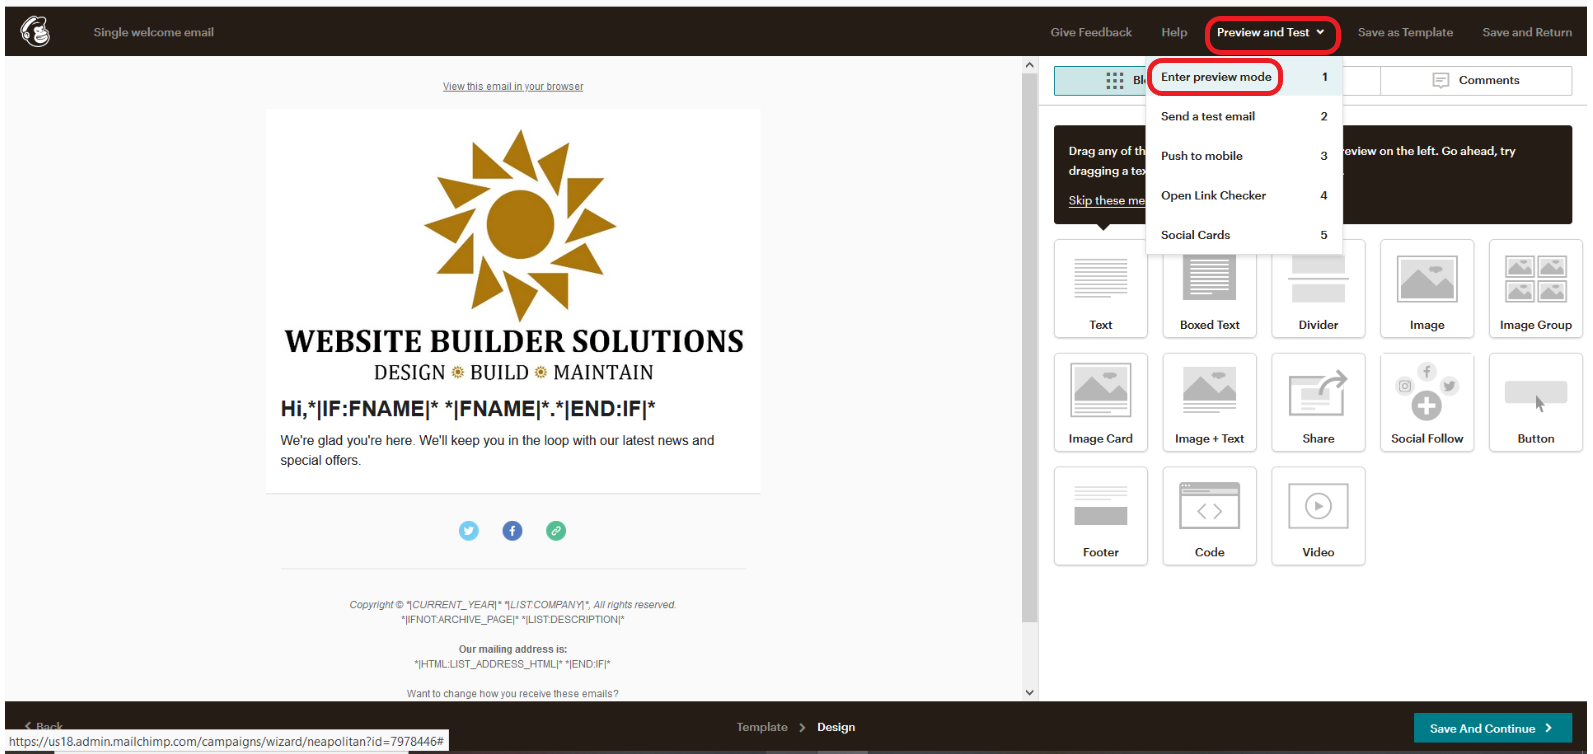
Take a look at the email and see if it’s what you want to send. Close preview mode by clicking on the X in the top right corner.
Click ‘Save and Continue’ in the bottom right corner.
You are now ready to start sending the welcome email. Click on ‘Start Sending’.

Another double check – click ‘Start Now’.
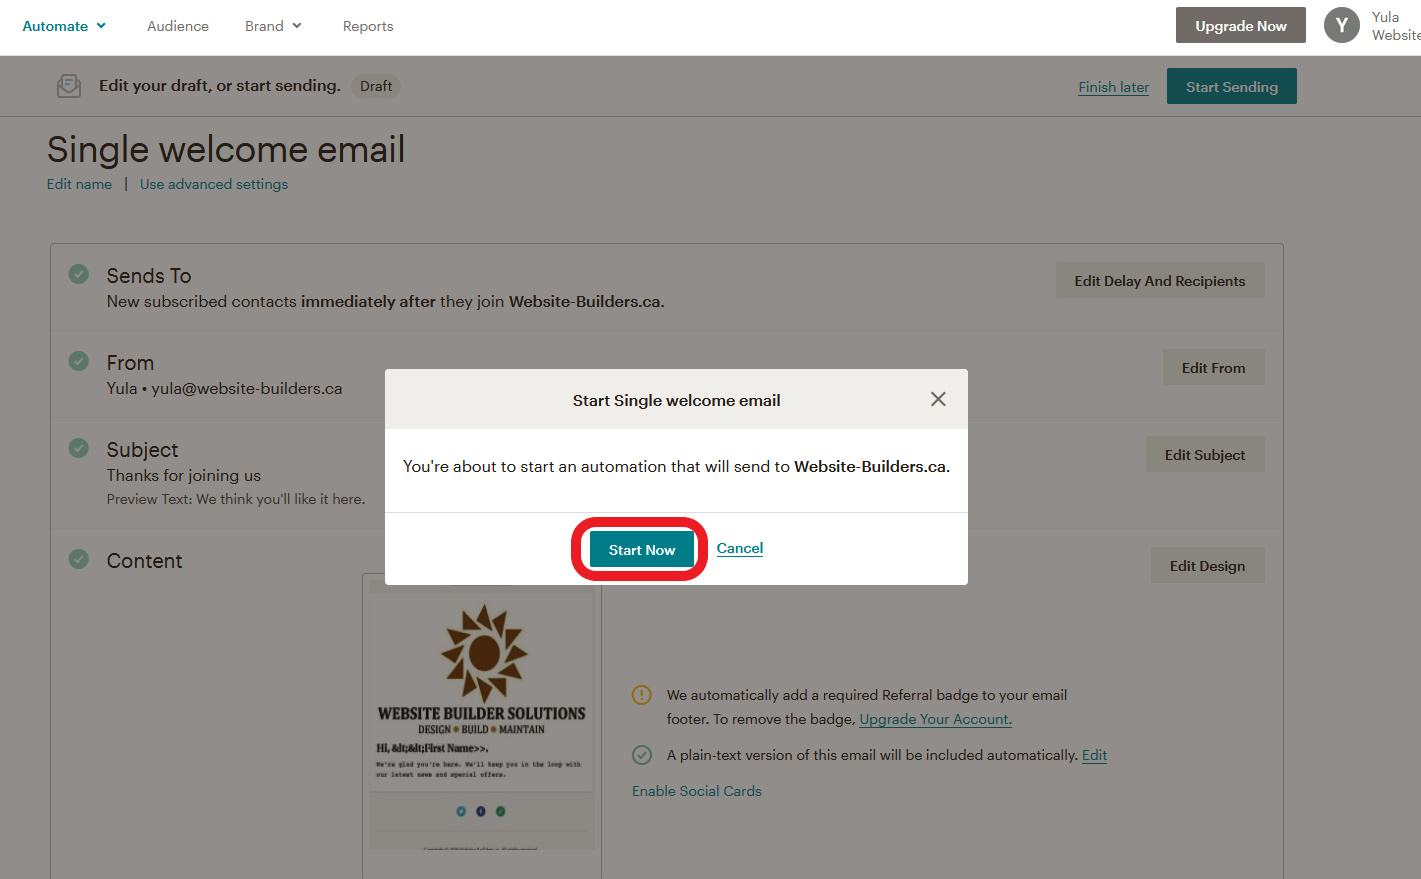
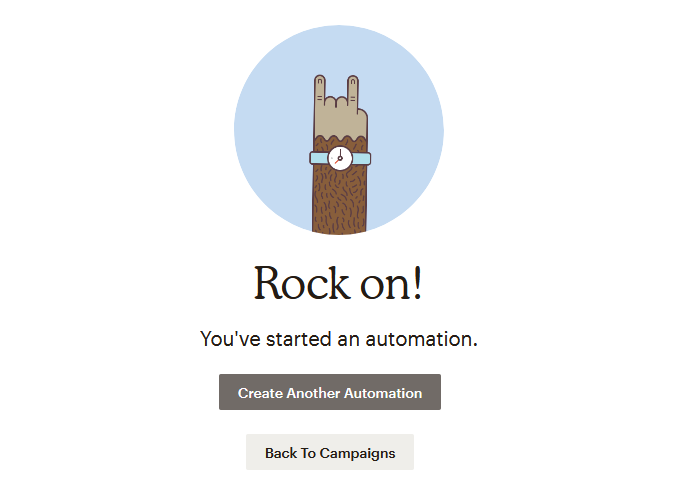
All done! Your next subscriber will now get a welcome email.